OpenClaw Third-Party API Quick Start: Local Installation and Model Setup
Install OpenClaw locally, configure a third-party model endpoint, and verify that your AI agent can call GPT, Claude, Gemini, DeepSeek, MiniMax, and other models.
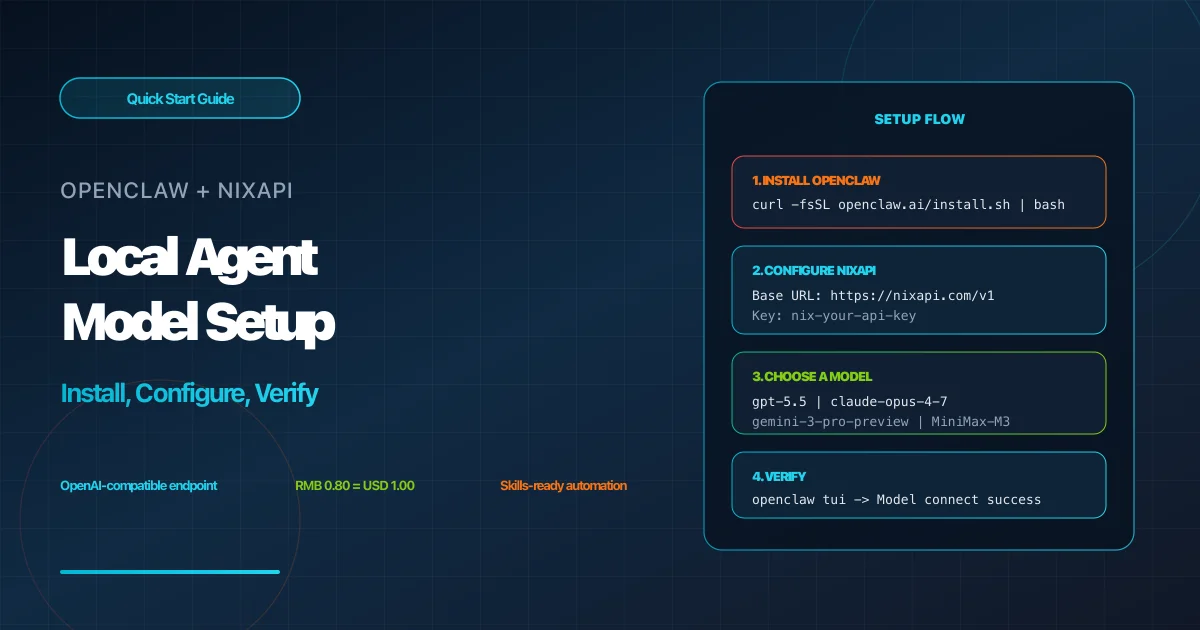
OpenClaw is a local or server-side automation agent framework. After installation, you can use it from the terminal to handle conversations, tasks, and skill-based workflows. With NixAPI, OpenClaw can call GPT, Claude, Gemini, DeepSeek, MiniMax, and other models through an OpenAI-compatible API.
This guide takes the shortest path: install OpenClaw, enter the NixAPI Base URL and API Key, then verify the setup from the terminal UI.
Prerequisites
Before you start, prepare two things:
- A macOS, Linux, or Windows machine
- A NixAPI API Key
If you do not have a key yet, create an account from the NixAPI homepage, then open the NixAPI console and create an API Key.
NixAPI currently offers a limited-time top-up exchange rate: RMB 0.80 = USD 1.00. If you plan to run OpenClaw for continuous tasks or multi-model testing, check your balance and top-up options in the console first.
OpenClaw requires Node.js 22 or later. The official installer checks your environment automatically and will guide you through the required setup if your local Node.js version is missing or outdated.
Step 1: Install OpenClaw
macOS / Linux
Open a terminal and start with the official installer:
curl -fsSL https://openclaw.ai/install.sh | bash
If your network is slow or unstable, you can use the China mirror script:
curl -fsSL https://open-claw.org.cn/install-cn.sh | bash
During installation, your system may ask for a password. Terminal password input usually does not display characters; type it normally and press Enter.
After installation, reload your shell configuration:
# macOS usually uses zsh by default
source ~/.zshrc

# If you use bash
source ~/.bash_profile
Then check the installed version:
openclaw --version
If you see a version such as 2026.x.x, the openclaw command is available.
Windows
On Windows, open PowerShell as Administrator and run:
iwr -useb https://openclaw.ai/install.ps1 | iex
Administrator mode is recommended because Node.js or dependency installation can be blocked by system permissions.
Step 2: Configure the NixAPI Model Endpoint
When you start OpenClaw for the first time, it usually opens an initialization wizard. The goal here is to point OpenClaw at the NixAPI model endpoint.
Follow the prompts:
- Choose
Yeswhen the initialization prompt appears - Enter the
QuickStartsetup flow - Choose custom API access or a custom model provider
- For
Base URL, enter:
https://nixapi.com/v1
- For
API Key, paste the key from the NixAPI console:
nix-your-api-key
-
Choose a model. These newer model IDs are good starting points:
gpt-5.5gpt-5.4-miniclaude-opus-4-7claude-sonnet-4-20250514gemini-3-pro-previewdeepseek-v4-flashMiniMax-M3
Available models change over time, so check the NixAPI supported model list before copying a model ID into OpenClaw.
-
Save the configuration and let OpenClaw test the connection
If you see a success message such as Model connect success, OpenClaw can now call models through NixAPI.
Keep
/v1in theBase URL. Missing/v1or adding extra spaces can cause request failures.
Step 3: Verify from the Terminal UI
After configuration, run:
openclaw tui
This opens the OpenClaw terminal interface. Try a simple task:
Organize my work for today into a prioritized task list.
If OpenClaw returns a normal response, local installation, NixAPI connectivity, and model configuration are all working.
If you see Unauthorized, 401, or another authentication error, check these first:
- The API Key was copied completely
- There are no spaces before or after the key
- You did not paste a key from another platform
Step 4: Install Skills
OpenClaw Skills are extension packages. After the model connection works, you can install skills for file handling, PDF processing, automation tasks, and similar workflows.
List available skills:
openclaw skill list
Install a skill, for example PDF handling:
openclaw skill install pdf-kit
After installation, trigger it with natural language:
Compress this PDF to under 10 MB while keeping the text selectable.
By default, Skills are installed under:
~/.openclaw/skills
Avoid moving this directory manually, or OpenClaw may not be able to find installed skills.
FAQ
1. What if OpenClaw says Node.js is missing?
Run:
node -v
If the version is below v22, rerun the OpenClaw installer or upgrade Node.js manually.
2. What if the model does not respond after configuration?
Restart the OpenClaw service first:
openclaw service restart
If it still fails, check that the Base URL is https://nixapi.com/v1 and that your API Key is correct.
3. Which model name should I use?
The model ID must match a model supported by NixAPI. Open the NixAPI supported model list or the NixAPI model pricing page, then copy the current model ID into OpenClaw.
4. Why use NixAPI with OpenClaw?
OpenClaw handles local agent workflows and task execution. NixAPI provides a unified model API. Together, they let you switch between models through one OpenAI-compatible configuration instead of rewriting code or changing SDKs for every provider.
Useful NixAPI Links
These links are useful during setup:
- NixAPI homepage
- NixAPI console
- NixAPI supported model list
- NixAPI model pricing
- NixAPI API documentation
Use the model list and pricing page before selecting a model. Use the API documentation when debugging parameters, authentication, streaming, or response formats.
Next Steps
After basic chat works, try these workflows:
- Install commonly used OpenClaw Skills
- Switch between NixAPI models and compare speed, cost, and output quality
- Let OpenClaw handle repetitive tasks such as daily summaries, file organization, and document summarization
For a deeper configuration walkthrough, read the complete OpenClaw third-party LLM API integration guide.
Try NixAPI Now
Reliable LLM API relay for OpenAI, Claude, Gemini, DeepSeek, Qwen, and Grok with ¥1 = $1 top-up
Sign Up Free